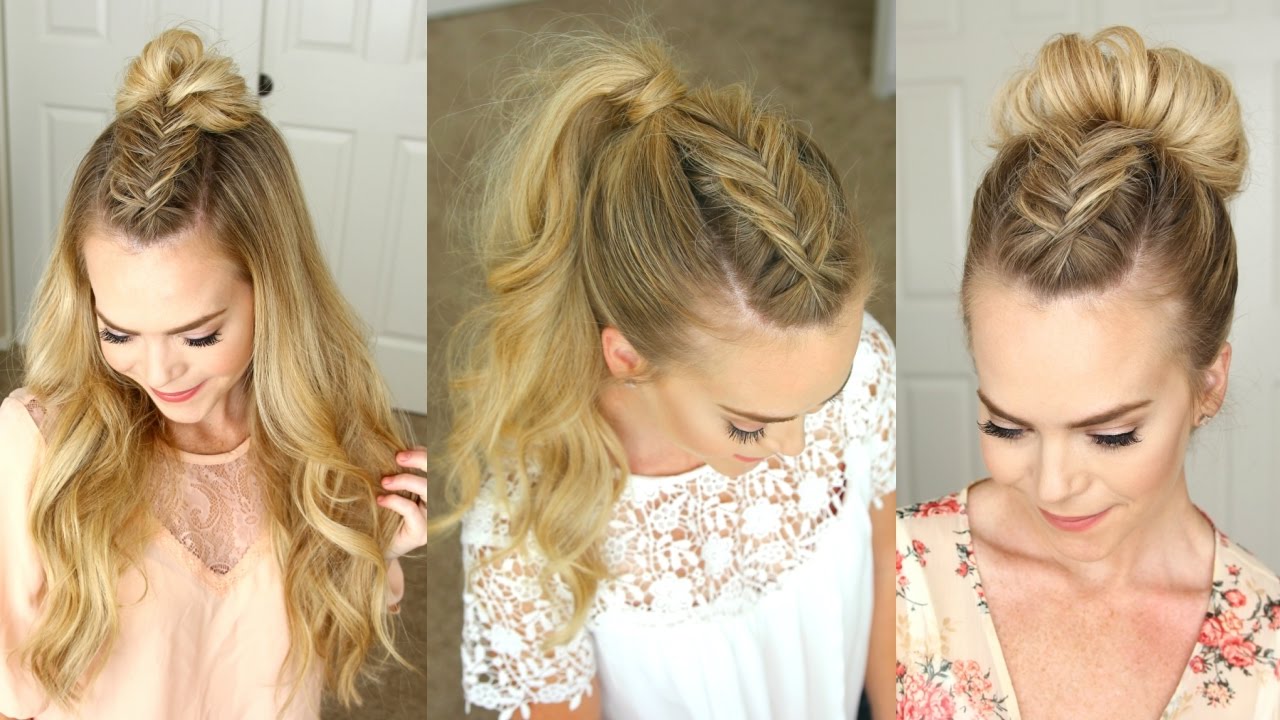
I couldn’t pronounce “s’il vous plait” if a croissant depended on it, but even I know that the French have the best beauty tips. They’ve mastered the happy contradiction of chic and undone. Uncovered the products that’ll make you smell good and look glowy and maybe even order you a café au lait if you ask nicely. More importantly for me: they’ve cracked the code on easy, model-off-duty hair. “The Parisian way is always very effortless — nothing ever looks too ‘made up,'” said celebrity hairstylist and T3 brand ambassador Laura Polko. Exhibit A: the half-up knotted hairstyle that’s all over the streets of Paris right now. “I’ve been seeing this messy knot everywhere that looks like it’d be hard to do, but it’s actually so easy.”
The key, as you might have guessed, is simplicity. “This look gets the hair out of your face and still has texture because of the waves, but it doesn’t look too polished,” she said. “Flyaways and looseness is what makes Parisian hair so desirable, so try not to focus on making it look perfect. It’s the imperfections that make it cool.” If the step-by-step ahead isn’t convincing enough, let me attest: this half-up topknot style isn’t just easy — it’ll also conjure a collective ooh, la la.
Step 1: Curl Your Hair
Want that messy, undone texture that matches the ripples of the ocean? First you have to make waves with a curling iron. (Don’t worry, you’ll fuss it up later.) To start, divide your hair into sections. Then, grab the Tapered Styling Wand from the T3 Whirl Trio Interchangeable Curling Iron Set ($300) and curl one-inch sections all over. If you’re not into the beachy wave look, you can also sub in the 1-inch straight barrel (which is included in the set and can be easily swapped out) for more uniform spirals.
Step 2: Switch It Up
For waves that evoke an “imperfect” Parisian vibe, alternate the direction of the curling iron for each one-inch section of hair. “The only part of the style that needs any thought is the very front, and that’s as far as which pieces you want left out to frame your face,” Polko said. “If you favor a middle part, direct the curl away from the face on either side of the part. For a side part, again, curl your hair away from the face, and use the wand to get lift at the root.”
Step 3: Pull Hair Back Into a Half Pony
Next, use your fingers to rake out the curls so they don’t look too defined. Divvy up half of your hair and loosely pull it back into a messy ponytail. “Don’t worry about making it look perfect,” she said.
Step 4: Create the Topknot
Secure the style with a clear hair tie, but instead of pulling the ends all the way through, “leave half of the hair still in the elastic,” Polko said. This will create a loop.
Step 5: Loosen Up
To give the topknot a certain je ne sais quoi — in other words, make the loop look fuller and more undone — use your fingertips to loosen up the ends.
Step 6: Do the Twist
Rotate the loop upward, taking the style from a horizontal position to vertical, and tug on the ends sticking out from the elastic to give it a messier vibe. If you want the hair around your face to look equally disheveled, use your fingertips and tug away.
Step 7: Add Texture
Once you’ve repositioned the topknot, use the same T3 curling iron to revive any limp curls and add extra bend. “Texture spray is always my go-to for this look,” Polko said. (We used the IGK Beach Club Texture Spray but any formula with grit and hold will do.) Fuss up the style with your fingertips.


